Last year I picked up an old Thinkstation S20 for free. It was a capable workstation in its day sporting a xeon processor and 12 gigs of RAM. I had it sitting in my garage for awhile unsure of if I'd use it -- its a big desktop from 2009. Computers have gotten a lot more efficient since then, and I didn't think I had a need for another computer.
The Rack Upgrade
Earlier this year I bid on and won a 42u Rack from GCSurplus for 40 dollars. This thing is comically overkill for my needs. This new rack is a fully welded, four-post rack. After moving everything over I was using about 10 of the 42 'u's. This gave me lots of space to fit this workstation. As far as I can tell, Lenovo did not make a rail kit for the S20, and even if they had I would be hard pressed to find one. I ended up using some generic rack rails that span the front and back post, and putting the workstation on top of those. The workstation like many is 4U on its side. Currently the workstation is just sitting on the rails with nothing confining its lateral movement, but the workstation is heavy enough that I am not concerned it will fall.
What to put on the Workstation
Previously there was an m1 mac mini, and a raspberry pi 4 in the rack. In many ways the mac mini is the perfect rack computer. It draws very little power, and the m1 versions in the old chassis were less than one rack unit tall. That said, there are some issues with running Mac OS headless. Apple has drastically increased the amount of popups and permission dialogues in the OS since I started running this mac headless. There were times where a service would hit a permission issue that could only be dismissed by screen sharing into the Mac to dismiss it. This caused the stack that ran this website to fail a couple of times, and require me to screen share into the mini. This was the last straw, and I decided to add the workstation to the rack to run a headless Linux operating system to run all of the services that were on the Mac Mini.
The parts bin
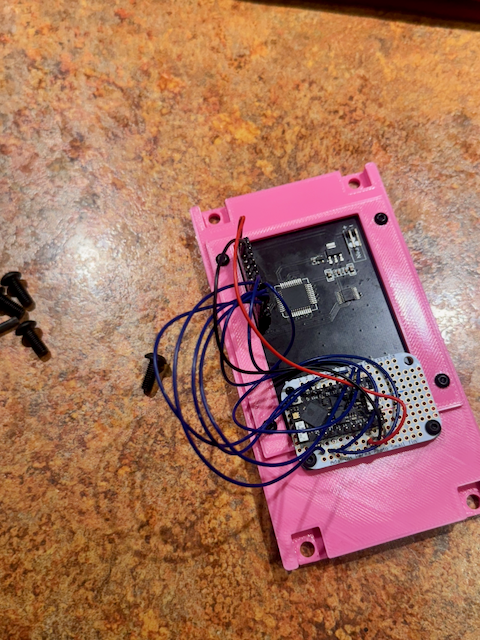
I came across a display that was previously used with an rpi when going through my electronics. It plugs into the Pis GPIO pins and sits on top as a hat. I thought it would be a fun project to reuse this as a workstation display. The brains of the display is an ESP-32 I also had on hand, I can't remember what it was originally used for but the soldered bridges and wires means it too had a previous life.
The plan
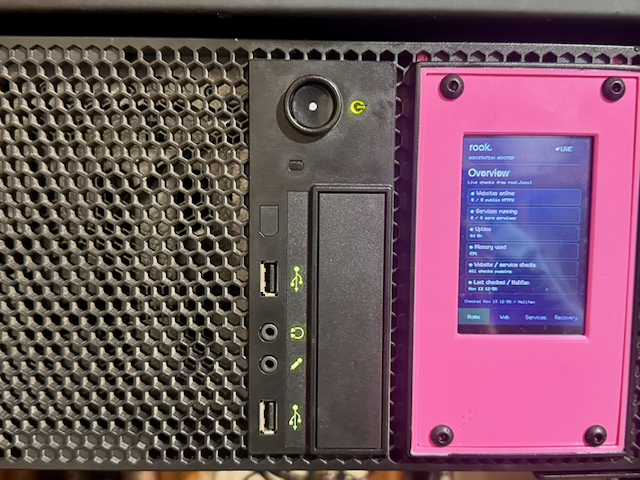
My plan was to mount the display to where the two 5.25 inch drive bays were. The computer came with an optical drive, but I have no use for it in this server. With the optical drive and blank removed there is plenty of space for this small screen.
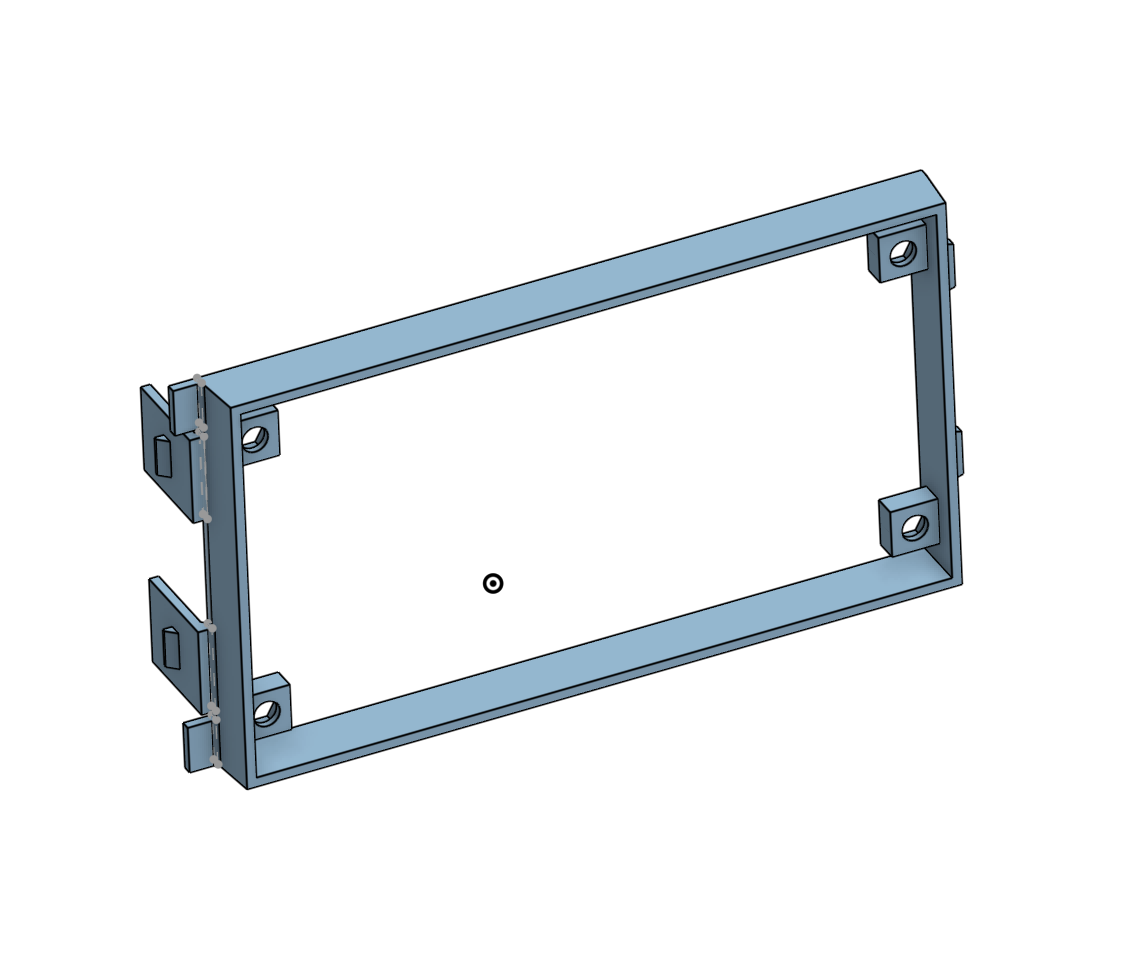
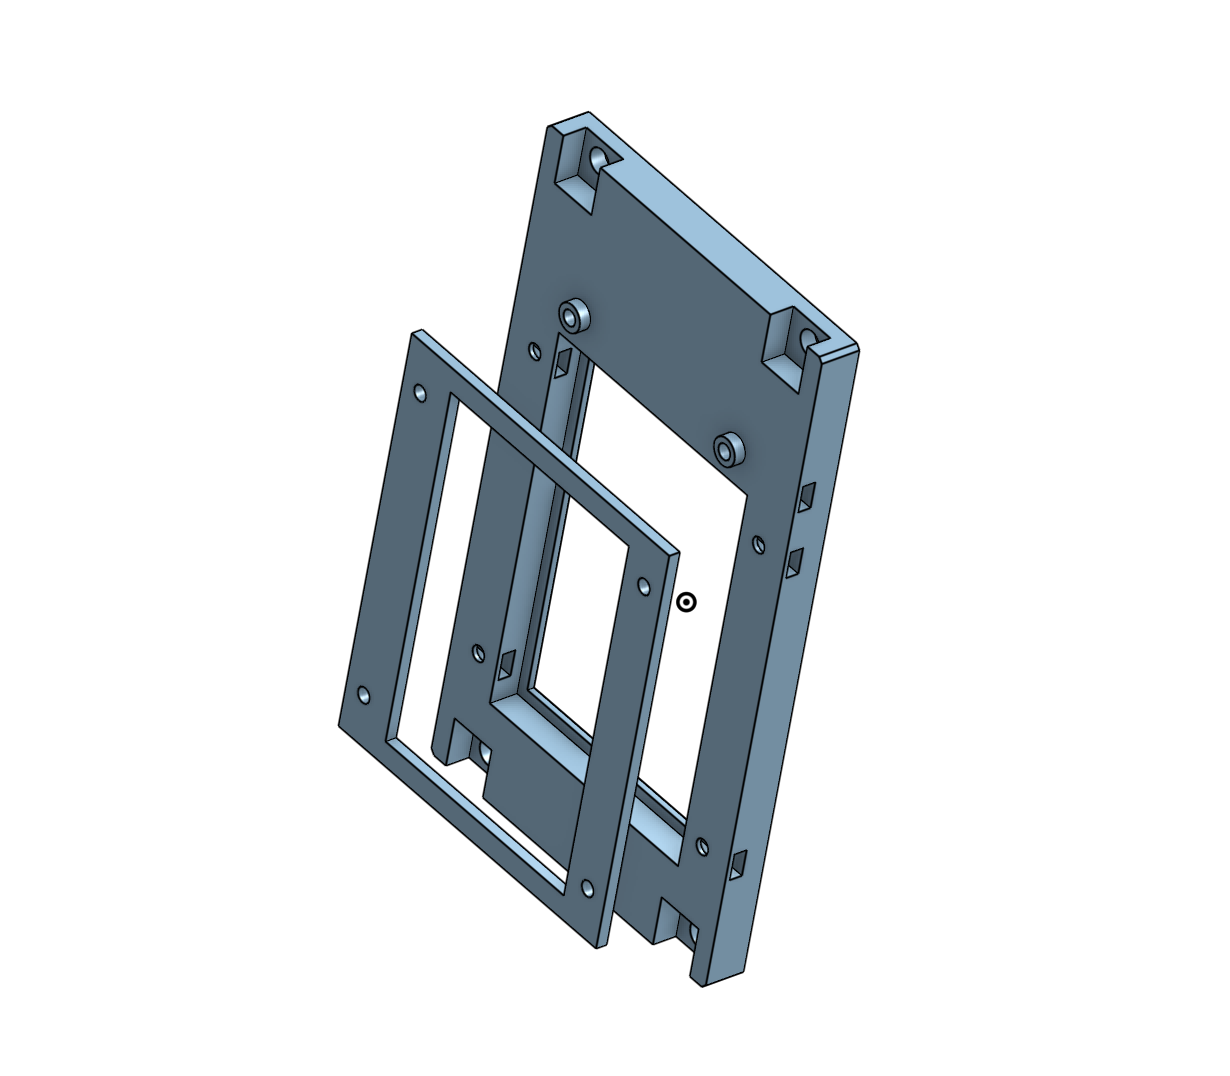
Next up was creating the parts in CAD. I decided to make it in 3 parts: an adapter piece that mounts using the same clipping mechanism as the blank did and has mounts for m5 nuts, the main body that acts as the screen bezel and screws into the adapter's m5 nuts, and a backing plate to hold the screen in place.
I printed the pieces in PLA. PLA isn't ideal for this print as it can start to deform at around 60c, which isn't out of the ordinary for a PC. I may reprint in PETG if I get a roll in the future. The parts were fairly straightforward to make in CAD, I was worried the clipping mechanism would be a pain to recreate but it only took one iteration.
I am happy with how the print turned out, the fit is really clean and the tolerances worked out great. The mechanism for holding the esp32 and back plate could be refined, it was a minor pain to line up the m3 screws, but it is more than serviceable.
The install
Installing the device was easy, I'm glad I designed it so I could clip the adapter in which can be fiddly, then just simply screw the panel in after the hard part was done. There is a USB cable that runs from the esp32 out the case and to the back. Ideally there would be an internal USB port, or the esp would connect to some header, but I had no parts on hand to accomplish that.
The software
I had codex take a crack at the software. I had made a simple web dashboard that displays temperature and usage stats of the workstation, along with docker container health, and used codex to make a simplified, non-web version to run on the esp32. It did a great job with very little oversight. I can see container health, the workstation's IP, and its temp and usage stats all from this display. A small helper program on the workstation feeds the data to the esp32 over USB, and its then displayed.
Conclusion
To be honest I doubt I will use the display much. It could be nice for basic troubleshooting, and a way to restart the device without using SSH. I did it since the display and micro-controller were collecting dust, and this entire project cost a grand total of zero dollars,. Micro controllers are amazing and more capable than I gave them credit for. You can run quite complex applications, including web apps, for a fraction of the cost of an rpi or mini PC. Obviously mini PCs can do more, but given how much cheaper microcontrollers are (especially with today's RAM prices), I'll be keeping my eye out for more micro-controller holes in my life.
If I did want to improve this project, I'd probably start with printing it out of PETG as mentioned before. I used pink PLA for prototyping as I used pink for one project and still had most of the roll left. As is all too common, after my prototype fit, I was too lazy to reprint it in black, so ill probably have a rad pink face plate on my workstation. The screen is another area that could be improved. Its was a mediocre TN panel 10 years ago, and time has not been kind to it. The viewing angles are atrocious, and the touchscreen is really bad. There is room for a larger display, too -- a larger 30 dollar IPS display would be a real improvement.
Gallery